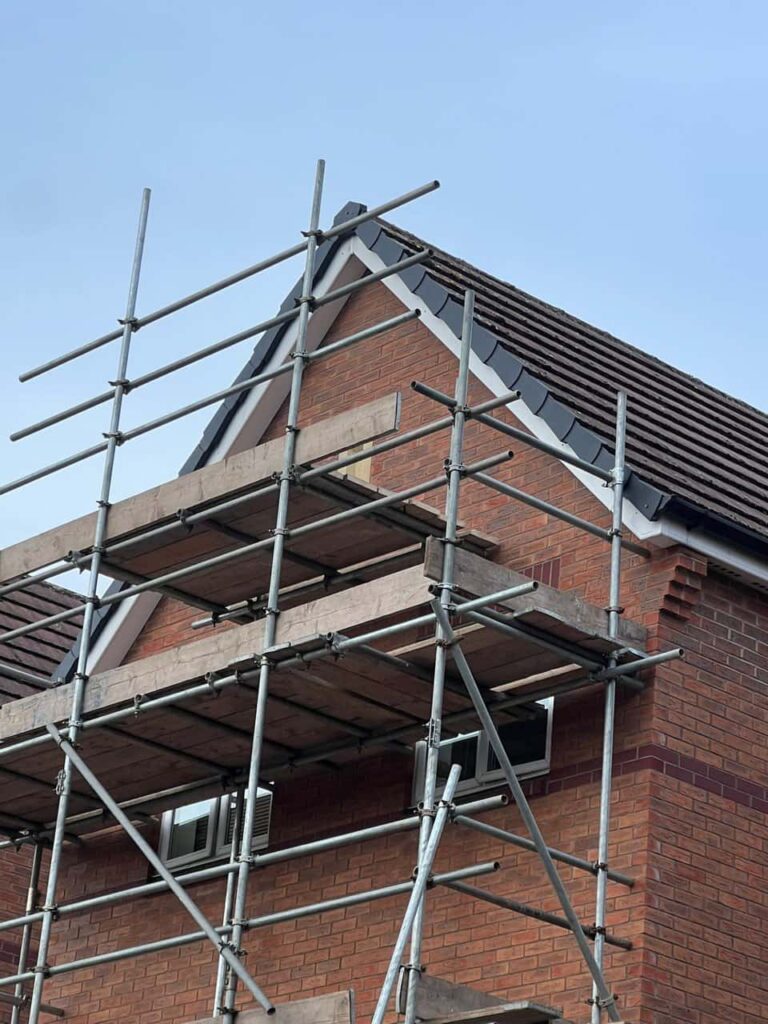
Introduction: A roof leak can quickly escalate from a minor annoyance to a significant problem if not addressed promptly. While seeking professional help for complex roofing issues is generally advisable, some minor leaks can be tackled with the right tools and materials. Clifton Roofing Repairs is here to provide you with a DIY guide to roof leak repairs and the essential tools and materials you’ll need.
Tools You’ll Need
Safety Gear: Before you begin any DIY roofing project, ensure you have the necessary safety gear, including gloves, goggles, and non-slip shoes.
Ladder: A sturdy ladder with proper safety measures is essential for accessing the roof safely.
Caulk Gun: A caulk gun is used to apply sealant to cracks and gaps.
Roofing Cement: Roofing cement is a thick substance used to seal leaks, cracks, and gaps.
Trowel: A trowel is necessary for spreading roofing cement evenly.
Putty Knife: A putty knife helps remove old sealant and debris from the leak area.
Flashlight: A flashlight will help you inspect hard-to-reach areas for leaks.
Measuring Tape: You’ll need a measuring tape to assess the leak’s size accurately.
Roofing Nails and Hammer: These secure loose shingles or flashing.
Roof Patching Fabric: This fabric reinforces the repair area before applying roofing cement.
Materials You’ll Need
Roof Sealant: Choose a high-quality roof sealant compatible with your roofing material.
Roofing Cement: Opt for roofing cement that’s designed for leak repairs.
Roofing Nails: These should match the type and colour of your existing roofing.
Roof Patching Fabric: This reinforces the repair and strengthens the roofing cement’s bond.
Replacement Shingles: If the leak is due to damaged shingles, have replacement shingles on hand.
Flashing Tape: This self-adhesive tape seals around chimneys, vents, and other roof protrusions.
Wire Brush: A wire brush helps clean the repair area before applying sealant.
Rubber Gloves: Rubber gloves protect your hands while working with roofing materials.
DIY Roof Leak Repair Steps
Safety First: Ensure you work in safe conditions and favourable weather.
Identify the Leak: Use your flashlight to inspect your attic for signs of water intrusion and identify the source of the leak.
Clear the Area: Remove debris, old sealant, or damaged shingles from the repair area.
Apply Roofing Cement: Spread roofing cement over the leak area using a trowel. Make sure to cover the entire damaged section.
Use Roof Patching Fabric: Press roof patching fabric into the roofing cement while it’s still wet. Apply another layer of cement over the fabric.
Seal Around Protrusions: Apply flashing tape around chimneys, vents, and other roof protrusions.
Replace Shingles: If the leak is due to damaged shingles, carefully remove and replace them.
Inspect and Test: Once the repairs are complete, inspect your work, use a hose to simulate rain, and test for leaks.
Conclusion:
When to Call a Professional
While DIY repairs can be effective for minor leaks, some issues require the expertise of professional roofers. If your leak is extensive, the damage severe, or you’re unsure about your DIY skills, it’s best to contact a roofing professional like Clifton Roofing Repairs. Professionals can provide a thorough inspection, expert advice, and comprehensive repairs to ensure the longevity of your roof.
Remember that safety should always be your top priority. If you’re uncomfortable working on your roof or the repair seems too complex, it’s better to leave it to the professionals. Your roof plays a vital role in protecting your home, and proper maintenance is essential for its long-term health.
Call us on: 0115 647 1193
Click here to find out more about Clifton Roofing Repairs
Click here to complete our contact form and see how we can help with your roofing needs.

