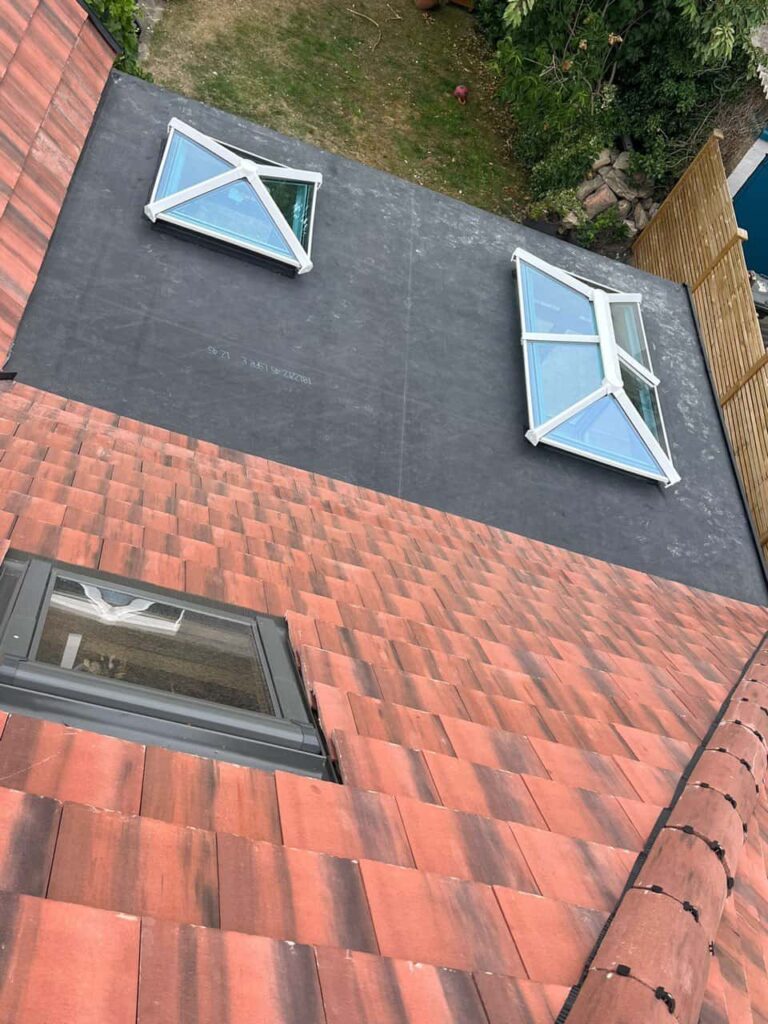
Introduction: Lead flashing is critical to your roofing system, preventing water infiltration and keeping your home dry. Over time, wear and tear or exposure to the elements can lead to damage that requires repairs. While some lead flashing repairs are best left to professionals, there are minor issues that you can tackle as a DIY project. In this blog post, presented by Clifton Roofing Repairs, we’ll provide a step-by-step guide to DIY lead flashing repair.
Tools and Materials You’ll Need:
Before you begin, gather the following tools and materials:
- Safety gear: Gloves, safety glasses, and a dust mask.
- Ladder: To access the roof safely.
- Caulking gun: For applying sealant.
- Lead sealant or lead patination oil: Depending on your lead flashing type.
- Wire brush or sandpaper: To clean the damaged area.
- Lead flashing patch: A piece of lead flashing slightly larger than the damaged area.
- Tin snips or a utility knife: For cutting the patch.
- Roofing nails or screws: To secure the patch in place.
Step-by-Step Guide:
- Safety First: Put on your safety gear, including gloves, safety glasses, and a dust mask. Ensure that your ladder is stable and securely positioned.
- Assess the Damage: Carefully inspect the damaged lead flashing. Identify cracks, holes, or areas where the flashing has pulled away from the roof or wall.
- Clean the Damaged Area: Use a wire brush or sandpaper to clean the damaged area and remove any debris, dirt, or loose paint. This step is crucial for proper adhesion.
- Apply Sealant: Depending on the lead flashing type, use lead sealant or lead patination oil to prime the damaged area. Follow the manufacturer’s instructions for application.
- Cut the Patch: Measure the damaged area and cut a lead flashing patch slightly larger than the damaged section. Ensure the patch is clean and free of any contaminants.
- Apply Sealant to the Patch: Apply sealant to the backside of the lead patch, ensuring even coverage.
- Position the Patch: Carefully place the patch over the damaged area, ensuring it covers the affected section.
- Secure the Patch: Use roofing nails or screws to secure the patch. Space them evenly along the edges of the patch.
- Seal the Edges: Apply additional sealant around the patch’s edges to create a watertight seal. Smooth the sealant with a putty knife or your finger.
- Inspect Your Work: Double-check that the patch is securely fastened and that the sealant has created a proper seal. Clean up any excess sealant.
Conclusion: DIY lead flashing repair can be a cost-effective solution for minor issues, provided you have the necessary tools, materials, and safety precautions. However, for more extensive damage or complex repairs, it’s advisable to consult with experienced roofing professionals like Clifton Roofing Repairs. Regular maintenance and prompt repairs can prolong the life of your lead flashing and ensure the continued protection of your home from water damage.
Call us on: 0115 647 1193
Click here to find out more about Clifton Roofing Repairs
Click here to complete our contact form and see how we can help with your roofing needs.

